Defend your vehicle’s paint from rock chips, bugs, sand, salt, and other everyday driving hazards with a Vehicle Paint Protection Film. This product is easy to apply and provides your vehicle with invisible protection on the road.
The products and procedures outlined below are designed to help you apply Vehicle Paint Protection Film yourself inexpensively with great results
Click Below for Step-by-Step Instructions on How to Install Vehicle Paint Protection Film
Paint Protection repair procedures below fall into two categories:
Paint Protection - Film
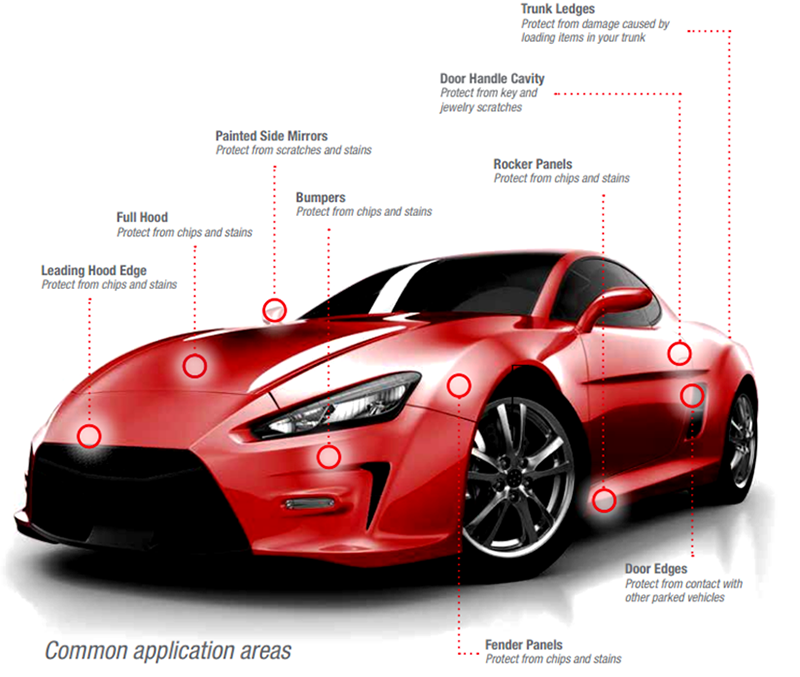
The 3M™ Paint Protection Film can be applied to a variety of areas including the vehicle’s leading edge of hood, full hood, front bumper, fenders, mirrors, rocker panels, door handles, trunk lid, hatchback and rear bumper. The 3M™ Paint Protection Film is clear and will not yellow over time. It is designed to last years but can be removed when you want with little very little work. Use the 3M™ Paint Protection Film wherever you want to protect your finish from stone chips and other abrasions.
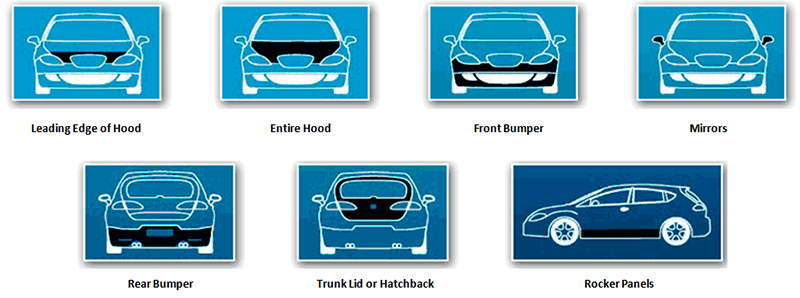
You can order film that is precut for the specific vehicle and the specific area that you want. You can also buy the film and cut / trim it yourself. The procedures below are for using 3M™ Paint Protection Film that you cut yourself and apply to the leading edge of a hood. The process steps outlined below can be used for any other area that you are interested in protecting.
Before you Begin:
You will need the following Tools and Materials for the Paint Film application:
- 70% Isopropyl Alcohol
- Baby Shampoo (e.g. Johnson’s Baby Shampoo)
- Clean water
- 2 Spray Bottles
- Application Squeegee
- 3M General Purpose Adhesive Cleaner
- Glass Cleaner
- Clean, Lint Free Towels (e.g. Microfiber Towels)
- Scissors or razor knife
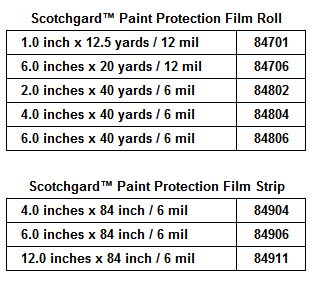
- Paint Protection Film (popular sizes are listed to the right.
Helpful Tips:
- Read Instructions Thoroughly (detailed application instructions are included in each package).
- Make sure hands are completely clean before starting the installation.
- Always wet your fingers before handling the adhesive side of the film. Touching the adhesive side of the film with dry fingers can cause permanent and visible marks.
- Keep both sides of the film wet during installation.
- Never allow one portion of the adhesive side of the film to touch another unless it is wet.
- Be certain that all squeegee strokes overlap each other in order to avoid trapping water bubbles in the film.
- Always install in a well lit and enclosed area (you do not want to trap dust or debris in the film while applying).
- Do not install in direct sunlight or under windy conditions.
- Ideal installation temperature is between 60 to 90 degrees (13°C – 32°C).
- Always be patient. Keep in mind that as long as the adhesive side of the film is kept wet you have all the time that you need to make placement adjustments.
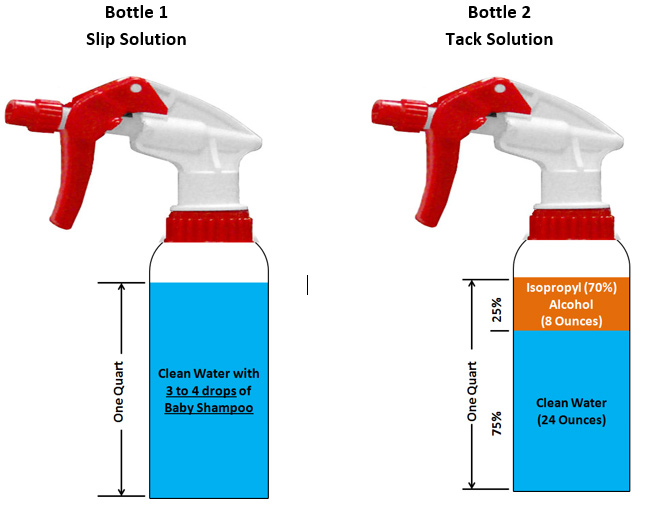
Step 1 – Prepare Two Spray Bottles: Slip Solution (Bottle 1) and Tack Solution (Bottle 2)
- You will need to prepare two empty and clean Spray Bottles with Slip Solution (Bottle 1) and Tack Solution (Bottle 2). These two solutions can be prepared yourself with products found at your local grocery store.
- The Slip Solution (Bottle 1) is made up of 32 ounces of clean water (preferably Distilled Water), and 3 to 4 drops of baby Shampoo (e.g. Johnson’s Baby Shampoo or equivalent). A slightly soapy mixture.
- The Tack Solution is made up of 70% Isopropyl Alcohol and clean water (preferably Distilled Water). For one quart (32 ounces), mix 8 ounces of 70% Isopropyl Alcohol and 24 ounces of water.
Step 2 – Clean the Surface where Film will be Applied
- Clean the surface first with Car Wash Soap and water.
- Dry the surface thoroughly with a clean, lint free Microfiber Cloth.
- Once dry, spray the surface with 3M General Purpose Adhesive Cleaner (3M 08987) to remove any remaining dirt, grime or grease.

Step 3 – Clean Areas where the Film will be Tucked Underneath
- For the Hood Installation featured here, also clean the areas under the edges of the hood where the film will be tucked.

Step 4 – Clean Surface a Final Time
- Clean the surface a final time with 3M Glass Cleaner (3M 08888) and clean Microfiber Cloth to remove any remaining residue.

Step 5 – Place Film on Flat, Clean Work Area
- Use a Flat Bench to lay out the Film.
- Spray fingers with the Slip Solution to avoid transferring contamination onto the film while removing the adhesive backing.
- Once adhesive backing is removed, spray the adhesive side of the Film generously with Slip Solution.

Step 6 – Spray Hood with Slip Solution
- Use Bottle 1 to generously spray the hood with Slip Solution.
- Completely wet the surface, going beyond the area where the Film will be applied.
- The Slip Solution will allow you to easily maneuver the film into the exact position that you want (the slippery solution allows you to slide the film easily).

Step 7 – Place Film on Hood, Adhesive Side Down
- With adhesive backing removed, place the Film – adhesive side down – on the hood and position it so the outside edge is straight across the hood.
- Make sure the line is even and straight.

Step 8 – Measure both Sides
- Measure both sides of the hood to make sure the Film is exactly the same distance, and the edge is perfectly straight across the hood.

Step 9 – Spray Tack Solution along Top Edge
- One the Film is positioned perfectly, spray Tack Solution (Bottle 2) along the top edge of the Film.
- You want the Tack Solution to flow underneath the Film.
- The Tack Solution, made up of Isopropyl Alcohol and Clean Water, will help anchor (tack) the Film to the surface, and keep it in place.

Step 10 – Squeegee the Center of the Film
- Spray Slip Solution (Bottle 1) on top of the film (keep the top of the Film lubricated with Slip Solution so squeegee does not mar the Film surface).
- Use a Squeegee to press the film down along the center.
- This will anchor the film to the hood in this one area (center of the Film).
Helpful Tip: The orange squeegee shown here is 3M-71607.

Step 11 – Trim the sides of the Film
- With the Film tacked / anchored to the middle of the hood, you can start to trim around the edges of the Film.
- Use sharp scissors or a sharp razor knife to trim the edges of the Film to match the contour of the hood.
- Leave a half inch or full inch of Film edge to wrap underneath the hood.

Step 12 – Cut notch at Corners
- At the corners of the Film, cut a small notch to be able to more easily warp the curved edges of the Film underneath the hood.

Step 13 – Spray and Squeegee Sides of Film
- Check alignment of Film to make sure everything is straight.
- Fold back the Film on each side of the hood (one side at a time) and spray with Tack Solution, removing the soapy Slip Solution residue.
- Squeegee the Film down, anchoring the Film in place on both sides of the hood.

Step 14 – Squeegee the Slip Solution from Film
- Use the Squeegee to start pushing out the Slip Solution from underneath the film. Make sure you are still using Slip Solution on top of the Film to prevent marring the Film surface with the Squeegee.
Helpful Tip: Push the Squeegee away from you versus pulling the Squeegee towards you to remove the Slip Solution from underneath the Film.

Step 15 – Fold Edges of Film underneath the Hood
- With most of the Slip Solution pushed out with a Squeegee from underneath the Film, spray the edges of the Film with Tack Solution and fold underneath the hood.
- Stretch and wrap the Film underneath the edge of the hood.
- Use your fingers to apply pressure to the Film and secure it to the underneath edge of the hood.

Step 16 – Squeegee out any Bubbles from the Film
- If you see any bubbles in the Film, re-wet the surface with Slip Solution and Squeegee them out.
- Re-secure the edge of the Film underneath the hood.

Step 17 – Secure the edges of the Film
- If you need some additional help getting the edges of the Film to adhere underneath the hood, use a standard hair dryer to gently heat the Film edge and help it adhere better to the underside of the hood.

Step 18 – Installation Complete
- Your installation should now be complete.
- Applying the Protective Film is really not too difficult.
- A video of this process is available below.

Paint Protection - Door Edge Guard
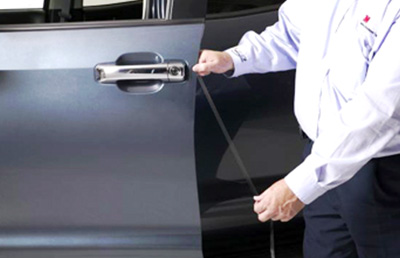
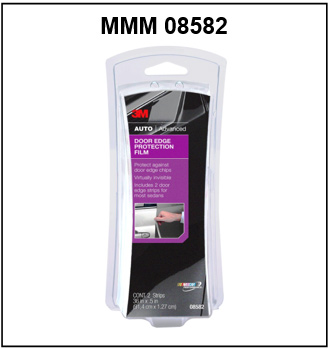
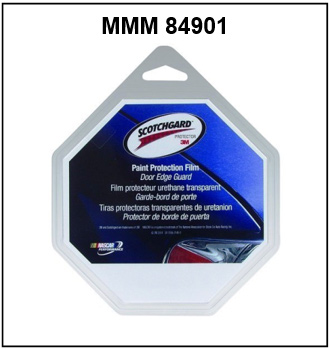
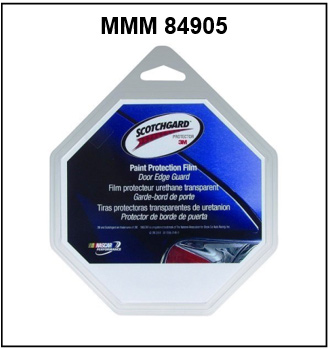
3M™ Door Edge Protection Film ™ is a super tough 6-millimeter thick clear coated urethane film that helps preserve your vehicle’s finish (products illustrated below – see Touch Up Zone online Catalog for details). It is made from the same material as the professionally-installed car door protectors used at car dealerships.
3M™ Door Edge Protection Film ™ helps protect against stone chipping, abrasion and weathering, door dings and most types of environmental damage. It is virtually invisible and clear coated to help make it resistant to yellowing and staining. Once applied, Door Edge Protection Film requires no special care.
Step 1 – Clean Area of Application Thoroughly
- Wash your hands thoroughly as dirt and skin oils show up easily on the adhesive and are difficult to remove.
- Avoid application in windy conditions as dust or other debris may attach to adhesive.
- Clean the door edge on both the interior and exterior surfaces using Car Wash Soap.
- Rinse with water and dry with a Micro Fiber Towel.
- If needed, use Wax & Grease Remover to remove and existing wax or contaminants – only apply film to a clean surface free of wax, grease, and dirt.
- Apply film at a temperature between 55°F – 90°F.
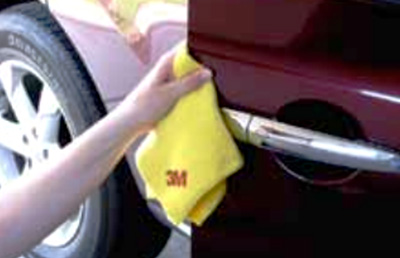
Step 2 – Check Fit, Position, Shape and Size
- Always check part position, shape and size before applying. The Door Edge film is rounded on the ends (if desired it can be cut straight).
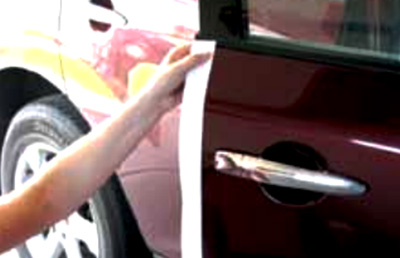
Step 3 – Apply Film to Door Edge
- Start to remove one strip from the paper. Do not pull the entire strip off the paper as the adhesive can become contaminated.
- Beginning at the top, press the film onto the door’s exterior surface so that half of the film width is on the outside door edge, and half is extending beyond the door edge.
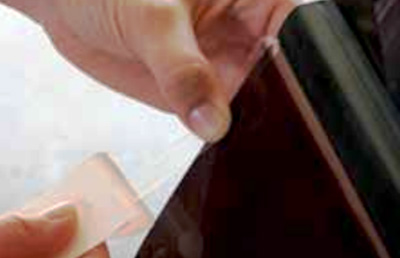
Step 4 – Trim Film as Needed
- Continue this process down the door edge to the bottom of the film.
- Trim at the bottom as necessary with scissors or razor blade.
Please Note: Use caution with cutting tools (i.e. Razor Blades), as sharp blades can cause serious injury to yourself, and also harm the paint (i.e. scratch the paint). Follow manufacturer’s instructions for cutting tools used.
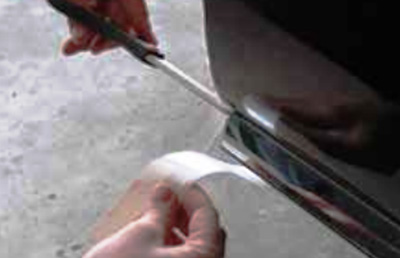
Step 5 – Press down on Film, Remove Air Bubbles
- Begin pressing the film around the edge of the door over the entire length of the door, but not all the way to the back side yet.
- This will help to prevent air bubbles.
- Remove any and all air bubbles that do appear by smoothing with moderate finger pressure.
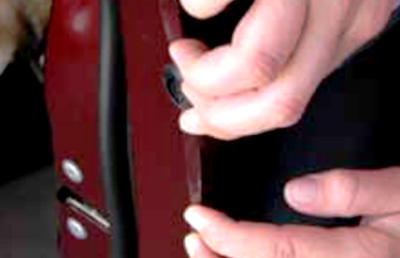
Step 6 – Repeat Process on Second Door
- Repeat steps 1 – 5 on second door.
Helpful Tips: Do NOT wash vehicle for 24 hours after film application. Wash and wax as normal after 24 hours.
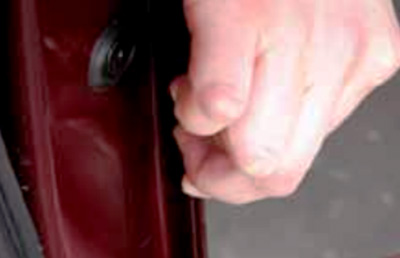
Removal of Door Edge Guard
Begin removal on the inside door edge at the top and pull the strip outward slowly, keeping the strip stretched and perpendicular to the door to release the adhesive.
Please be Advised
The recommendations and process steps listed in the projects below are general do-it-yourself recommendations that are designed to produce a successful project. Due to the many variables involved with each project and process steps, Touch Up Zone cannot guarantee results and does not accept liability for incorrect product application or use.
Before you Start
- Always wear proper safety protection: Safety Glasses, Respirator, Particle Mask, Latex or Nitrile Gloves and Hearing Protection (if you are using power tools that emit high noise levels).
- Utilize a well ventilated area when spraying coatings or sanding.
- Make sure the temperature is warm enough to allow coatings and materials to dry properly.
- Work in a well lighted area where you can clearly see what you are doing.
- Always follow label instructions on products.
Tools, Equipment, Paint and Material Options
The Tools, Equipment, Paint and Materials recommended for the each project are listed in the repair procedure and are highlighted in Red. You can purchase the Tools, Equipment, Paint and Materials for these products by clicking on the button below. For product definitions and general tech tips click here.


