Rust is like a cancer. It eats away at the steel in your vehicle. Some rust you can see and some rust is not readily apparent. Rust can attack a vehicle from the inside out, and by the time it appears you may have a large hole to repair.
The auto body rust repair procedures below are designed to eliminate surface rust as well as small holes that may have eaten through the metal.
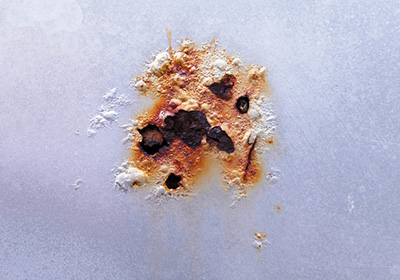
Click Below for Step-by-Step Instructions on How to Repair Rust on a Car
Rust Repair Project
Step 2 – Clean the Rust Repair Area
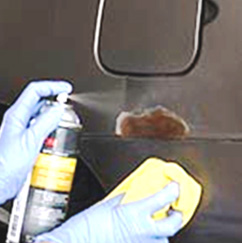
- Clean the repair area with a Wax and Grease Remover. This eliminates any built-up wax, grease, silicone, road tar, etc., that could cause paint failure.
- Spray the entire area with the Wax and Grease Remover and wipe dry with a clean Disposable Wipe.
- Use the clean Disposable Wipe to dry the Wax and Grease Remover while it is still wet and before it dries on the surface.
- Use Rubbing Compound to compound around the rusted area after cleaning. Compounding the area will help with blending the color after the rust has been repaired.
Step 3 – Mask the Rust Repair Area
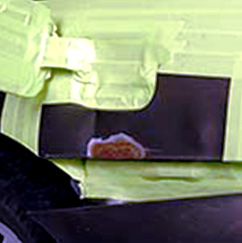
- Use Tape and Masking Paper to mask around the rust repair area.
- This will protect the surrounding area from unwanted scratches and overspray while repairing the rust spot.
Step 4 – Remove Rust
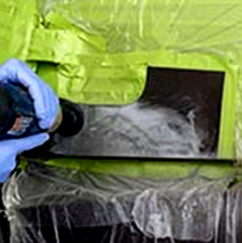
- Use a Drill with Rolac Attachment (or Air Grinder at low speed) and a 36 Grit Abrasive Disc to remove the first layer of rust from the metal surface.
- Follow up with a Wire Brush to make sure all pitted crevices are completely free of rust.
- Use 80 Grit Production Sand Paper by hand or 80 Grit Sand Paper Disc and DA Sander to sand 3 to 4 inches around the rusted area. This coarse grit sand paper will help the filler materials adhere better.
Helpful Tip: If using an Air Grinder and 36 Grit Abrasive Disc use at low speed to avoid excessive heat on the metal.
Step 5 – Patch and Reinforce any Rust Holes
- If the metal has rusted through and created a hole, the hole must be patched before using Body Filler to finish off the rust repair.
- For rust holes, start by using a Body Hammer to gently knock back the edge around the rust hole.
- Remove any remaining sharp edges and/or rust with a Drill with Rolac Attachment (or Air Grinder at low speed) and a 36 Grit Abrasive Disc.
- Patch the rust hole with Body Tape, Reinforced Fiberglass Filler, or Fiberglass Mat and Resin. This will create a foundation or bridge to apply Body Filler on top of.
- Allow Reinforced Fiberglass Filler or Fiberglass Mat and Resin to dry completely before applying Body Filler on top.
Helpful Tip: As an option, you can apply Rust Converter to the rusted area before applying either Body Tape, Reinforced Fiberglass Filler, or Fiberglass Mat and Resin to help minimize the spread of rust. Rust Converter will penetrate rust and convert the rusted surface to a black coating.
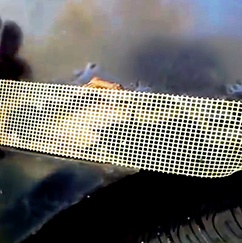
Step 6 – Apply First Coat of Body Filler
- Mix Body Filler with Body Filler Hardener.
- Apply Body Filler over rust repair area and level with Plastic Spreader as smoothly as possible.
- Allow Body Filler to dry completely (30 minutes @ 70° F).
- Once completely dry, sand Body Filler smooth first with coarse 80 Grit Production Sand Paper. Level off Body Filler as flat as possible.
Helpful Tip: Use a plastic Mixing Board to mix Body Filler with Body Filler Hardener.
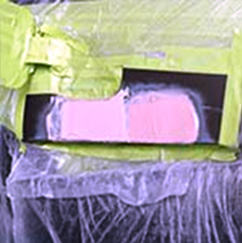
Step 7 – Apply Final Coat of Body Filler
- Apply a thin final coat of Body Filler as smoothly as possible with Plastic Spreader and let dry completely.
- Once Body Filler is completely dry, final sand with 400 Grit Production Sandpaper.
Helpful Tip: Use a Sanding Block with sandpaper to achieve a flat surface.
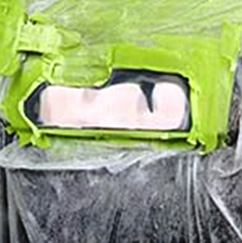
Step 8 – Apply Primer over Body Filler / Body Putty
- Clean the panel with a Wax & Grease Remover to remove all dirt, oil, and contamination before spraying Primer.
- Apply a light coat of Primer over the repair area.
- Allow Primer to dry about 2 to 3 minutes.
- Spray 2 to 3 additional medium wet coats of Primer over the repair area with a 2 to 3 minute flash off between coats (do not pile heavy coats of Primer on the repair area).
- Allow Primer dry a minimum of 20 minutes (@ 70° F – longer for colder temperatures) before sanding.
Helpful Tip: If you observe any surface imperfections after sanding Primer such as pin holes or scratches you can apply a thin coat of Body Putty over the imperfection, allow to dry, sand with 400 Grit Production Sandpaper and apply additional Primer.
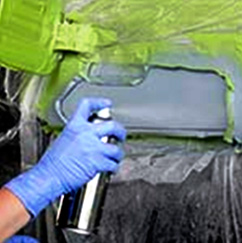
Step 9 –Sand the Primer and Blend Area
- Sand the Primer initially with either 400 Grit Production Sand Paper or 600 Grit Production Sand Paper (the 400 Grit has a courser grit and cut compared to the 600 Grit).
- If additional filling is needed, apply an additional coat of Primer and allow to Primer to dry completely.
- Final sand Primer with 800 Grit Production Sandpaper. Remove all courser grit sand scratches.
- Sand an area about 3 to 4 inches beyond the primed area with 800 Grit Production Sandpaper. This will be an area that you can blend the color into once you have painted over the primed area.
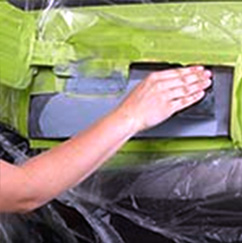
Step 10 – Apply Color and Clear
- Clean the panel with a Wax & Grease Remover to remove all dirt, oil, and contamination before spraying Color.
- Once panel is completely dry, use a Tack Cloth to wipe away any remaining dust or debris from area.
- Apply 2 to 3 medium wet coats of Color over the primed area until covered, and lightly blend final coat into the surrounding area.
- Allow Color to dry 15 to 20 minutes (@ 70° F – longer for colder temperatures) before applying Clear.
- Apply 2 to 3 medium wet coats of Clear over the Color.
- Wait 1 to 2 minutes after last coat of Clear has dried and spray Edge Blender over the edges of the Clear to melt into the surrounding area.
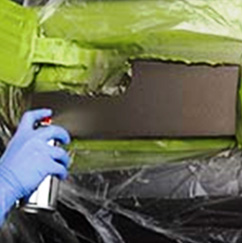
Step 11 – Remove any Imperfections in Clear
- Remove light scratches or minor dirt and defects that may be in Clear with 1500 Grit Wetordry Sandpaper, water and Rubbing Compound.
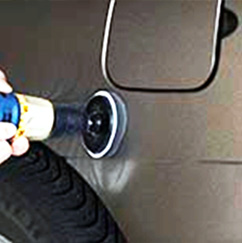
Helpful Tip: Use the 3M™ Scratch-Removal-System to help remove any flaws or imperfections in the Clear.
See Also: Polishing & Detailing
Please be Advised
The recommendations and process steps listed in the projects below are general do-it-yourself recommendations that are designed to produce a successful project. Due to the many variables involved with each project and process steps, Touch Up Zone cannot guarantee results and does not accept liability for incorrect product application or use.
Before you Start
- Always wear proper safety protection: Safety Glasses, Respirator, Particle Mask, Latex or Nitrile Gloves and Hearing Protection (if you are using power tools that emit high noise levels).
- Utilize a well ventilated area when spraying coatings or sanding.
- Make sure the temperature is warm enough to allow coatings and materials to dry properly.
- Work in a well lighted area where you can clearly see what you are doing.
- Always follow label instructions on products.
Tools, Equipment, Paint and Material Options
The Tools, Equipment, Paint and Materials recommended for the each project are listed in the repair procedure and are highlighted in Red. You can purchase the Tools, Equipment, Paint and Materials for these products by clicking on the button below. For product definitions and general tech tips click here.

