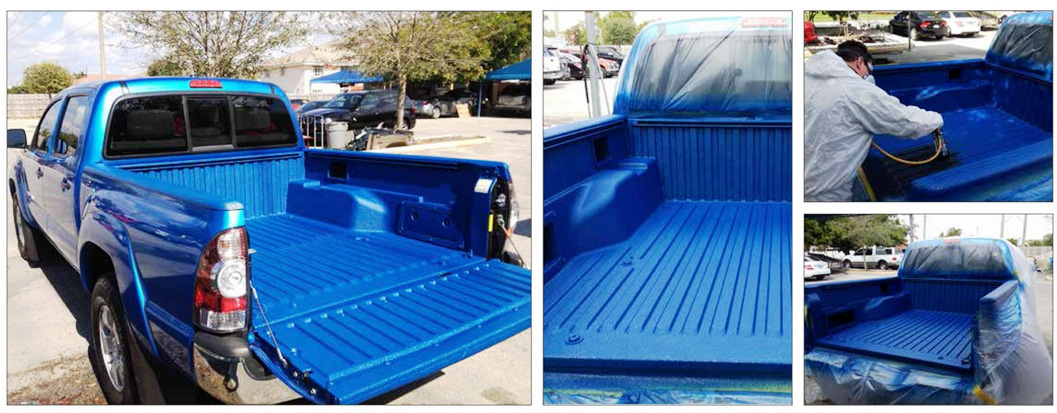
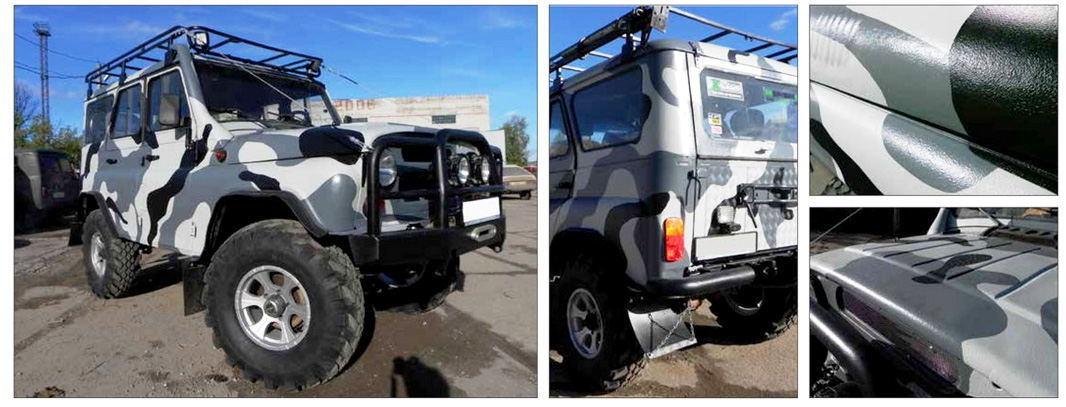
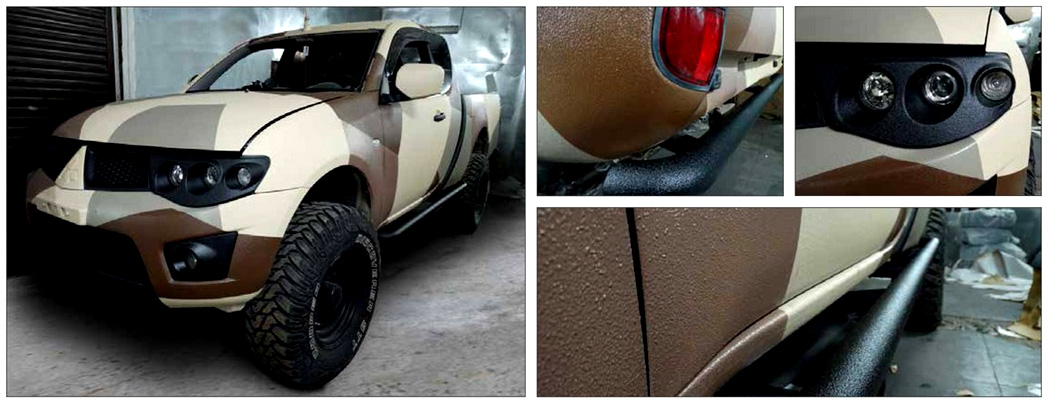
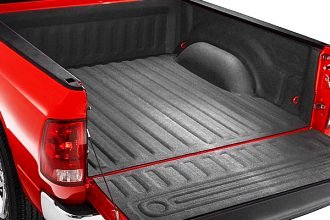
Extend the life and appearance of your truck bed with a Bed Liner Coating. These easy to apply coatings not only help prevent truck bed damage caused by scratches, rust and weathering, they also enhance the appearance of your vehicle.
Bed Liner Coatings can be used on truck beds, running boards, bedrails and other metal aluminum, fiberglass and wood surfaces. These coatings can be applied by a Roller/Brush, Spray Gun, or Aerosol.
The products and procedures outlined below are designed to help you repair and enhance your vehicle inexpensively yourself with great results.
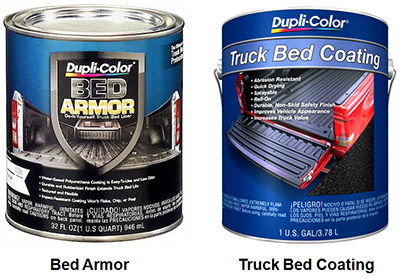
There are three Bed Liner products are available to suit your project:
Click Below for Step-by-Step Instructions – Truck Bed Refinishing
One-Component Bed Liner Coatings
Bed Armor™ is a one-component, ready to apply water based coating that is the ideal choice for protecting truck beds, and all other metal, aluminum, fiberglass, and wood surfaces. This durable water-based, polyurethane coating won’t chip, fade, or flake and has a textured, black satin finish.
Truck Bed Coating is a one-component solvent based durable, non-skid black polymer coating that gives the look and protection of a conventional truck bed liner for a fraction of the price. Truck Bed Coating is specially formulated to provide spray-on, brush-on or roll-on protection for truck beds, inner fenders, tailgates, bedrails, cargo vans, step areas, and running boards.
Step 1 – Prepare Surface
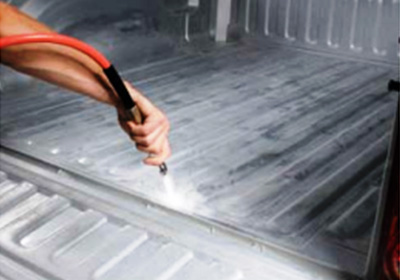
- Remove all loose dirt and debris from the truck bed and tail gate using a broom and / or pressure washer. Allow to dry.
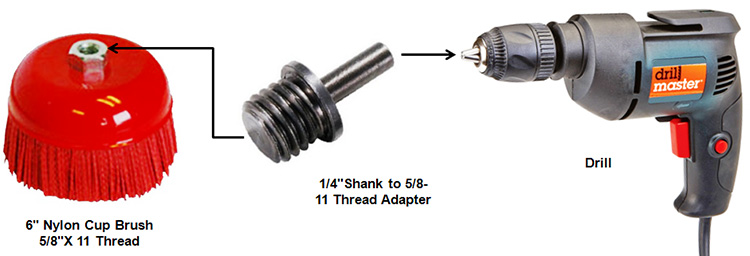
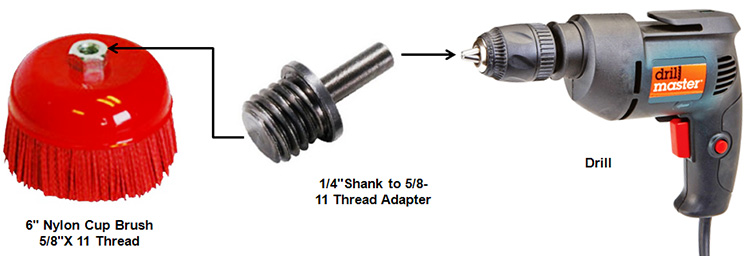
- Remove all loose paint and rust by hand using a Stiff Brush or by Drill with Cup Brush attachment (pictured below).
Step 2 – Mask Area
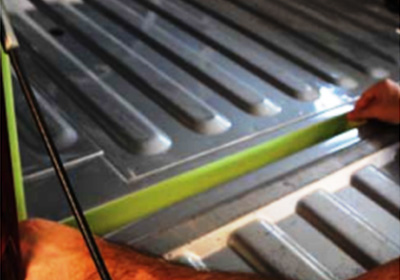
- Mask off the area surrounding the truck bed with Tape and Masking Paper to protect adjacent surfaces from paint splatter or overspray.
- Mask off all hardware, drain plugs and areas of the truck bed and tailgate that you do not want Bed Armor™ or Truck Bed Coating to bond to or cover.
Helpful Tip: You can also use Plastic Sheeting to help mask off and protect surrounding areas of the vehicle from overspray.
Step 3 – Sand Surface
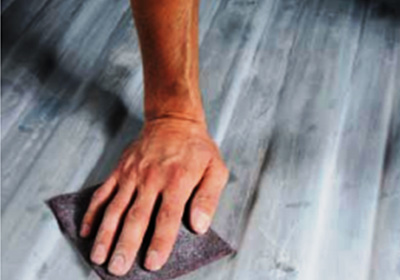
- Sand or scuff all areas of the truck bed and tailgate were Bed Armor™ or Truck Bed Coating is going to be applied. Scuffing glossy surfaces will ensure a superior bond to the surface.
- Sand or scuff by hand using 180 Grit Production Sandpaper and /or a Red Scuff Pad, or by machine using a DA Sander and a 180 Grit Sandpaper Disc.
- For maximum adhesion, scuff or sand thoroughly right up to the edge of the masking Tape.
Step 4 – Clean Surface
- Remove sanding dust with broom or air hose.
- Clean surface with a Wax & Grease Remover to remove all dirt, oil, and contamination before applying Bed Armor™ or Truck Bed Coating.
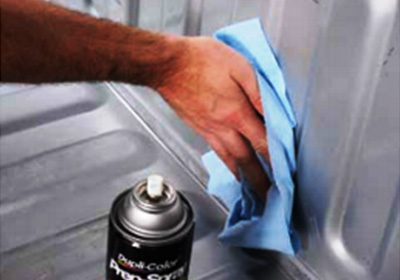
Step 5 – Apply Primer to Bare Metal
- Cover any bare metal spots with a Primer before applying Bed Armor™ or Truck Bed Coating (using an Aerosol to apply primer is very easy and effective).
- Apply 2 to 3 coats of Primer and allow Primer to dry completely.
- Lightly sand once completely dry before recoating with Bed Armor™ or Truck Bed Coating.

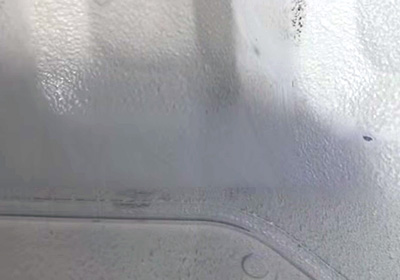
Roller Application
- Open the container of Bed Armor™ or Truck Bed Coating and stir contents with provided stir stick.
- Stir contents again every 10 minutes during application process.
- Pour Bed Armor™ or Truck Bed Coating into a Roller Tray.
- Start applying the coating to the truck bed and tailgate using the Roller.
- Use a Brush to dab the Bed Armor™ or Truck Bed Coating into the seams and areas where the Roller will not reach.
- Working from front to back, use the Roller to apply a light first tack coat.
- Let the first coat dry for at least 1 hour or more before stepping back into the truck bed for second coat.
- Apply a second heavier coat once the first coat has dried for one hour.
- Two coats of Bed Armor™ or Truck Bed Coating are necessary for full complete coverage.
- Missed areas can be touched up at any time.
- Allow Bed Armor™ or Truck Bed Coating to dry for 2 hours before removing masking tape.
- A freshly coated truck bed will be ready for light-duty use in 24 hours and heavy-duty use in 48 hours.
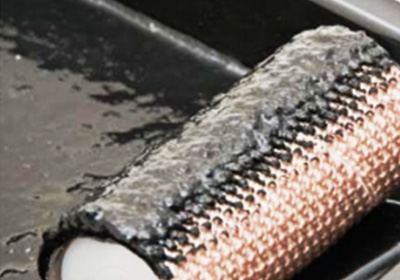

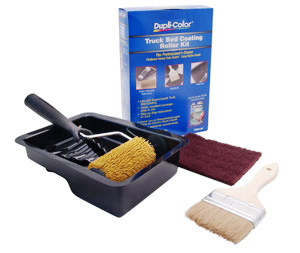
Helpful Tip: You can purchase the Roller Tray, Roller and Brush as a Kit (Dupli Color Truck Bed Roller Kit PN TRG 103 is pictured right).
Clean Up: A wet rag with Acetone can be used to clean off any unwanted Truck Bed Coating (Truck Bed Coating is solvent based). A wet rag with water can be used to clean off any unwanted Bed Armor™ (Bed Armor is water based). Cleaning must be performed while the coating is still wet.
Clean all tools before Bed Armor™ or Truck Bed Coating has dried. Make sure the lid is securely sealed back on to container for future use.
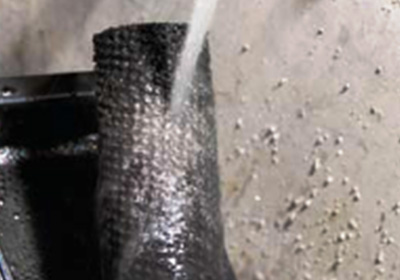
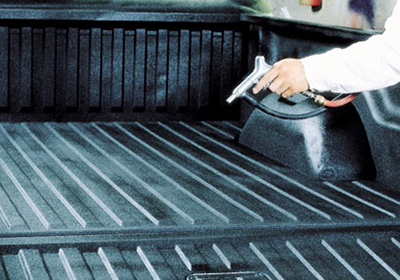
Spray Gun Application (using an air compressor)
- Spray a test pattern before applying to truck bed.
- Mask off all surfaces with Tape and Masking Paper that you do not want to get overspray on.
- After testing apply a wet, even cover coat to surface.
- Maintain a distance of about 8 to 10 inches from the surface.
- Work from front to back, allowing the first coat to dry one hour before applying a second coat.
- Two coats are needed to achieve full coverage.
- Clean up equipment immediately afterwards with Acetone.
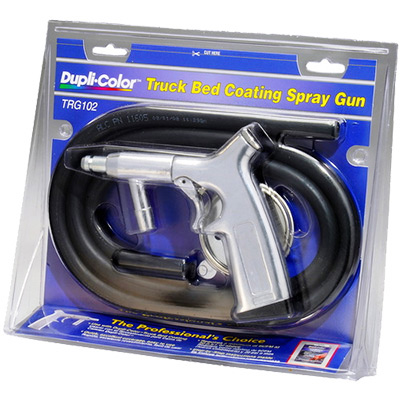
Helpful Tip: If you have an air compressor, you can purchase a Truck Bed Coating Spray Gun to apply either the Bed Armor™ or Truck Bed Coating (Dupli Color Truck Bed Coating Spray Gun PN TRG 102 is pictured right).
Aerosol Application
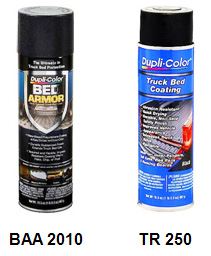
- Both the Bed Armor™ and Truck Bed Coating come in a convenient Aerosol Can (Bed Armor™ BAA 2010 Aerosol and Truck Bed Coating TR250 Aerosol are pictured below).
- You can use the Aerosol Can to either spray an entire bed or to do touch up. If spraying an entire bed, you will have to purchase several Aerosol Cans.
- Use at temperatures between 68º and 90º F.
- Shake can, and spray a test pattern on a piece of card board.
- Hold the Aerosol Can about 8 to 10 inches away.
- Spray a medium wet coat and let flash. Spray until covered.
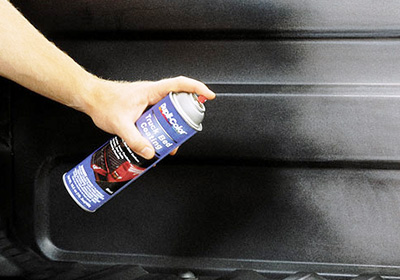
Helpful Tip: Mask off all surfaces that you do not want to get overspray on.
Two-Component Bed Liner Coatings
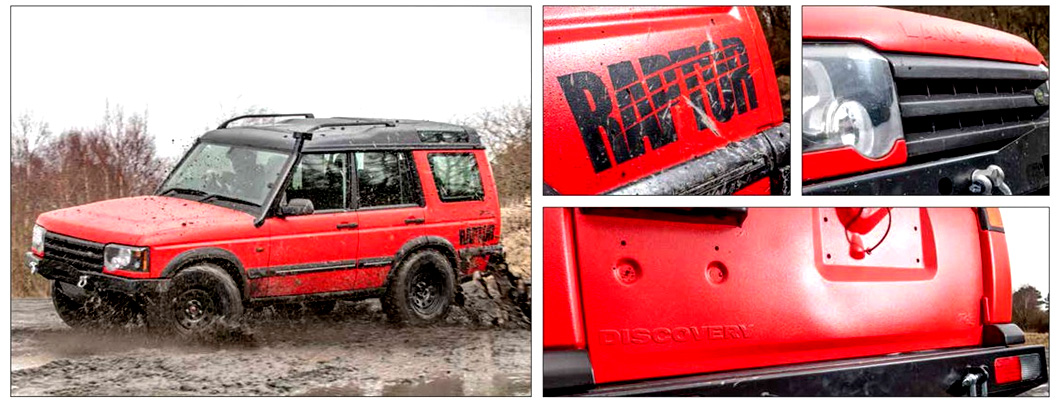
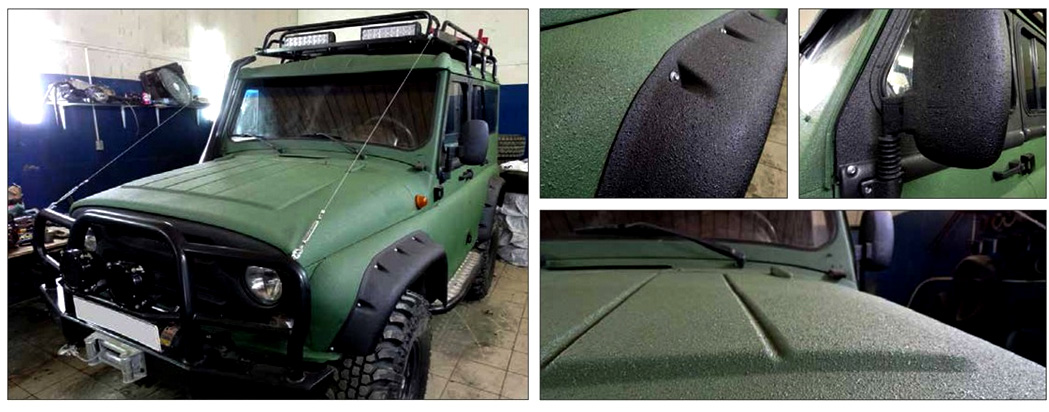
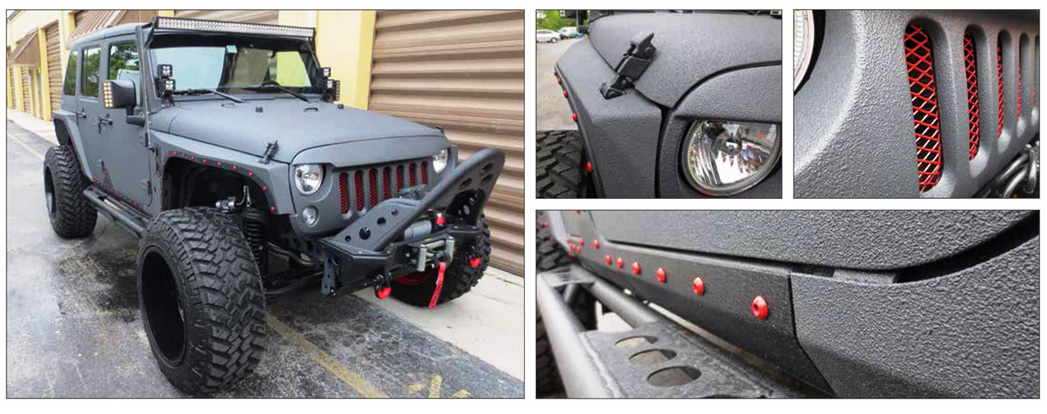
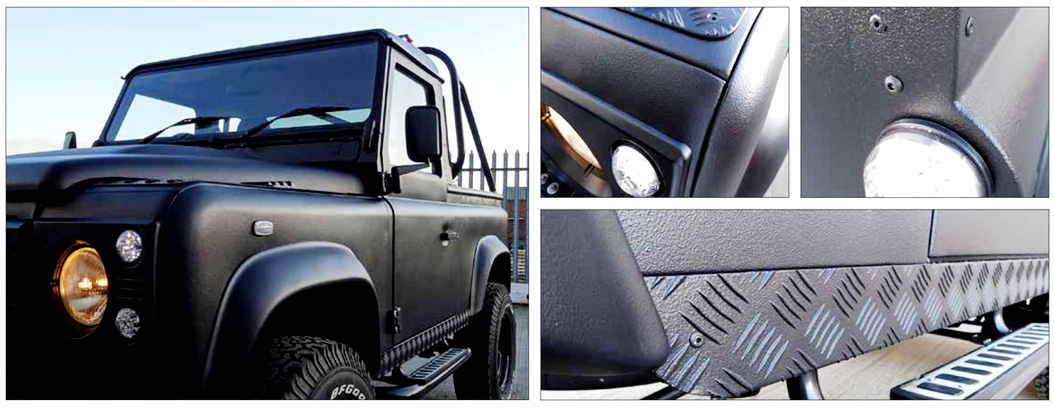
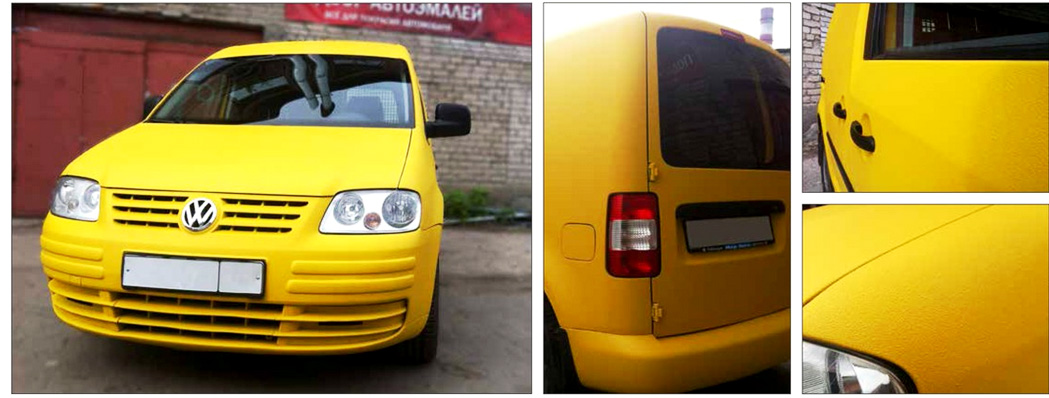
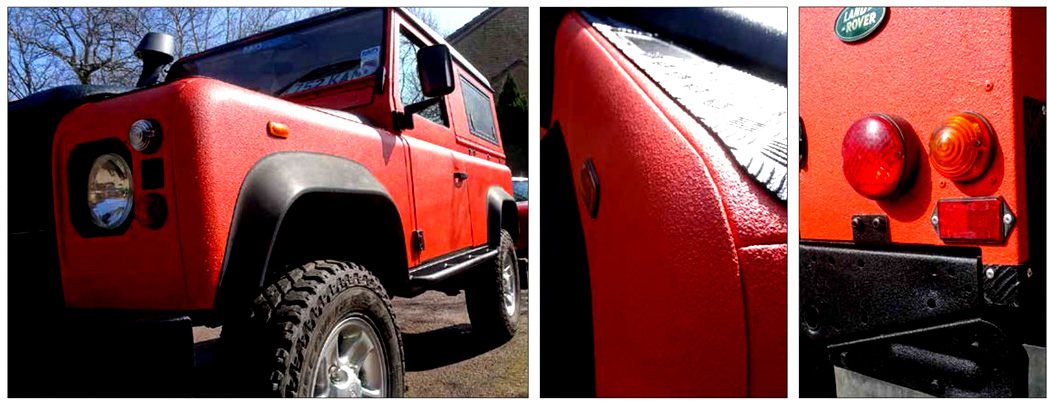
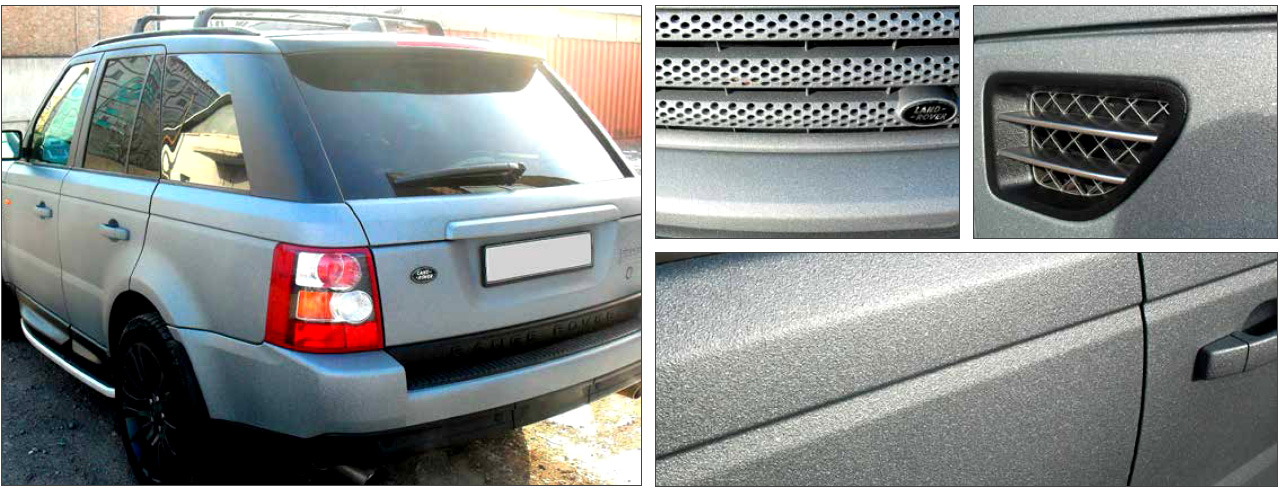
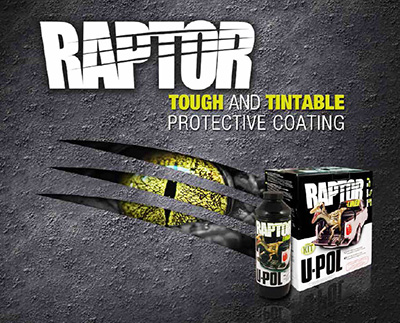
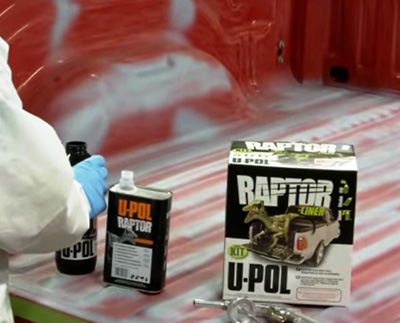
Raptor Liner is a two-component, extremely durable coating that can used to protect truck beds, trailers, boats, equipment, ATV’s and more. Raptor Liner is available as a black coating or it can be tinted to either match OEM colors or provide a customized look. Raptor Liner must be mixed with a hardener (coating + hardener) and can be applied by either roller or spray gun (using an air compressor). Raptor Liner is not available in an aerosol container.
Step 1 – Prepare and Clean the Surface
• Remove all loose dirt and debris from the truck bed and tail gate using a broom and / or pressure washer. Allow to dry.
• Remove all loose paint and rust by hand using a Stiff Brush or by Drill with Cup Brush attachment (pictured below).
• Use a Wax & Grease Remover to remove any contaminants remaining on the surface
Step 2 – Mask off Area
- Mask off all surfaces with Tape and Masking Paper that you do not want to get overspray / coating on.
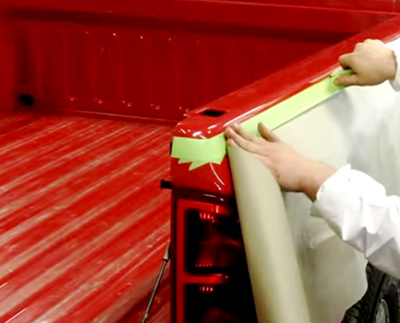
Step 3 – Sand the Area
- Sand the surface with a DA Sander and a 80 Grit Sandpaper Disc, or by hand using 80 Grit Production Sandpaper. This course sandpaper will quickly remove surface defects and smooth the surface.
- Make sure all rust and dirt are moved from the surface.
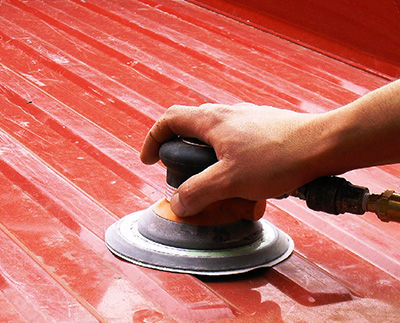
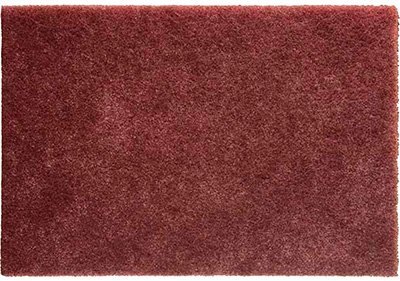
Helpful Tip: To insure maximum adhesion, use a Red Scuff Pad to scuff any area missed with sandpaper. There should be no glossy areas remaining.
Step 4 – Clean Surface after Sanding
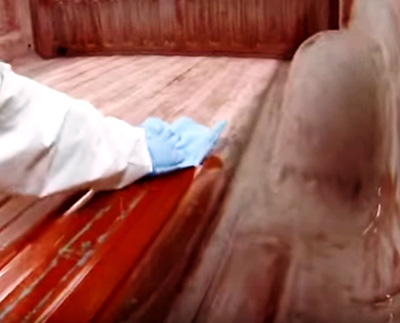
- After you have finished sanding, clean the area once more with Wax & Grease Remover and a clean towel or cloth.
- Cleaning should remove any existing contaminants which may interfere with coating, and any sanding dust or debris which will help produce a cleaner job.
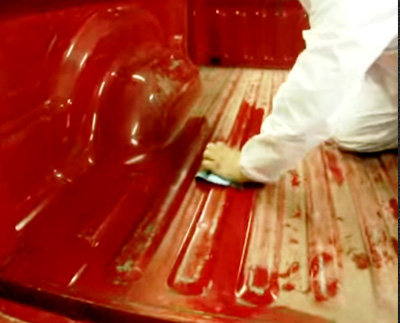
Helpful Tip: You can use a Red Scuff Pad (pictured above) saturated with Wax and Grease Remover to scuff and clean the surface at the same time.
Step 5 – Apply Primer to Bare Metal
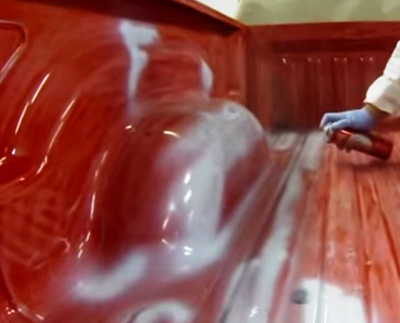
- Cover any bare metal spots with Etch Primer before applying Raptor Liner (using an Aerosol to apply primer is very easy and effective).
- Apply 2 to 3 coats of Etch Primer and allow Etch Primer to dry completely.
- You can recoat over Etch Primer without sanding.

Step 6 – Mix Component Together
There are two versions of Raptor Liner:
- Non Tintable – Black
- Tintable – Colored
If you want your Raptor Liner any other color besides black, choose the tintable version.
Choose your Raptor Liner Tint Color (click on the Raptor Liner Tint Color Chart link below).
Helpful Tip: It is recommended that you spray a test panel before spraying vehicle to ensure desired color match is achieved. Adjust color match with Raptor Liner Tints.
Please Note: If you live in a VOC compliant area, there is a low VOC version of both the Non-Tintable and Tintable Raptor Liner products. The mixing ratios are the same as the standard versions.
Mixing Instructions:
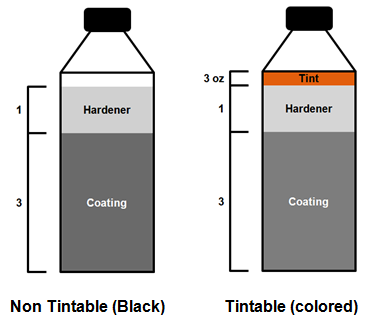
- Non Tintable (Black): Mix 3 Parts Raptor Liner to 1 Part Hardener (see Illustration on right). There are mixing marks on the bottle.
- Tintable (Colored): Mix Parts Raptor Liner to 1 Part Hardener and then add 3 ounces of Raptor Liner Tint (see Illustration on right). There are mixing marks on the bottle.
- After mixing all components together, close the lid on the bottle and shake for two minutes (Fill – Shake – Shoot).

Step 7 – Attach Bed Liner Schutz Gun
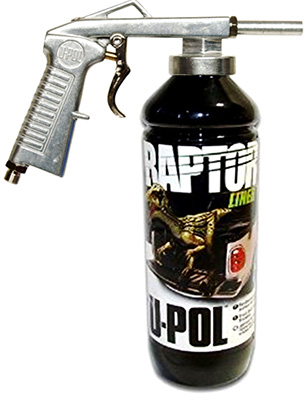
- Attach the Bed Liner Schutz Gun (pictured below) directly to the Raptor Liner Bottle.
- Once you connect air, you are now ready to spray.
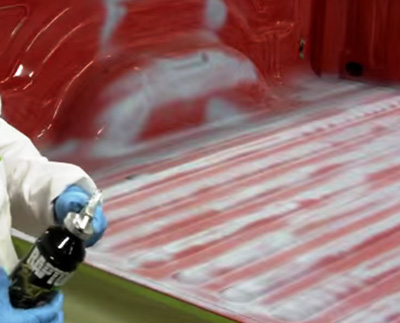
Step 8 – Apply Raptor Liner
Spray Application
- Adjust air pressure to between 40 psi and 70 psi (varying air pressure will also vary the texture of Raptor Liner).
Helpful Tip: It is recommended that you spray a test panel before spraying vehicle to ensure desired texture is achieved.
- Maintain a distance of about 24 inches between the Bed Liner Schutz Gun and the surface that you are spraying.
- Spray even patterns and build to the desired thickness.
- If applying additional coats allow for a 60 minute dry time between coats (depending on temperature – the cooler the temperature the longer the dry time).
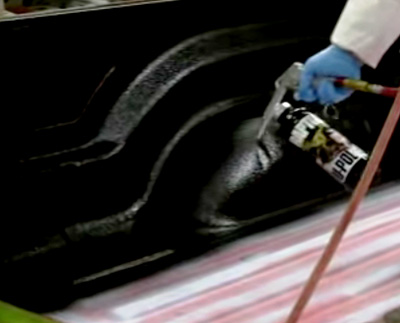
Roller Application
- Pour mixed Raptor Liner into a suitable paint tray.
- Apply using an open textured Roller.
- Cut in all corners and hard to reach areas with a Brush.
- Load Roller with the Raptor Liner and apply slowly using medium pressure.
- Rolling on Raptor Liner results in a lower build. Additional coats will be necessary. When applying additional coats, observe a minimum 40 minute dry time period between coats.
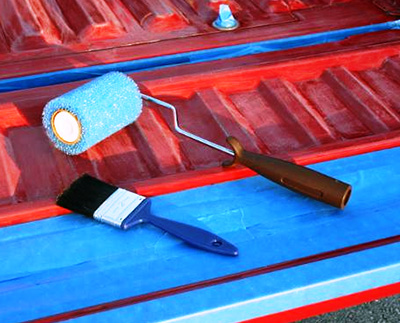
Step 9 – Remove Masking Tape and Paper, allow to Dry
- Once you are finished applying Raptor Liner, you can start to remove Tape and Masking Paper after about 15 minutes.
- Allow the Raptor Liner to dry 2 to 3 days before using (depending on temperature – the cooler the temperature the longer the dry time).
For a Gallery of Raptor Liner Projects, see Below
Also see Potential Uses for Raptor Liner Below
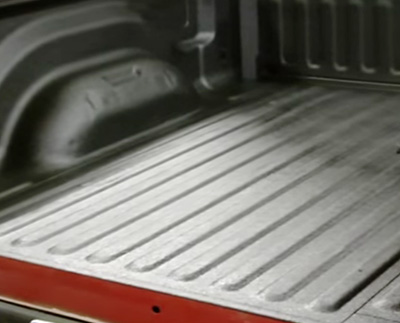
Raptor Liner Projects
Please be Advised
The recommendations and process steps listed in the projects below are general do-it-yourself recommendations that are designed to produce a successful project. Due to the many variables involved with each project and process steps, Touch Up Zone cannot guarantee results and does not accept liability for incorrect product application or use.
Before you Start
- Always wear proper safety protection: Safety Glasses, Respirator, Particle Mask, Latex or Nitrile Gloves and Hearing Protection (if you are using power tools that emit high noise levels).
- Utilize a well ventilated area when spraying coatings or sanding.
- Make sure the temperature is warm enough to allow coatings and materials to dry properly.
- Work in a well lighted area where you can clearly see what you are doing.
- Always follow label instructions on products.
Tools, Equipment, Paint and Material Options
The Tools, Equipment, Paint and Materials recommended for the each project are listed in the repair procedure and are highlighted in Red. You can purchase the Tools, Equipment, Paint and Materials for these products by clicking on the button below. For product definitions and general tech tips click here.


