Black exterior trim and plastic on vehicles eventually fade. They just don’t have the same coating protection as the metal car body, and they look awful once they start to fade. Waxes and polishes that are applied to the black surface actually accelerate the fading or graying process.
Restoring faded black plastic car trim is not difficult. Not only will your vehicle look much better with restored back trim, the right products will also protect against future oxidation and fading. Restoring faded black trim can be accomplished in one of three ways:

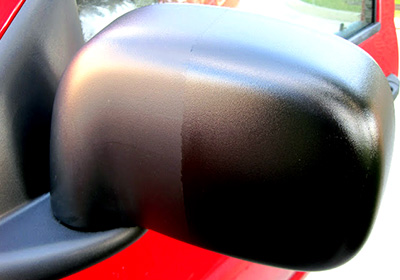
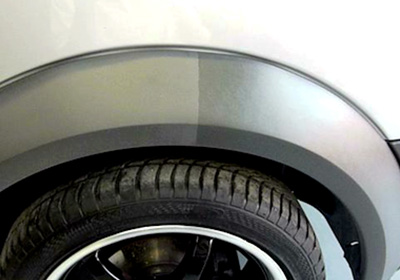
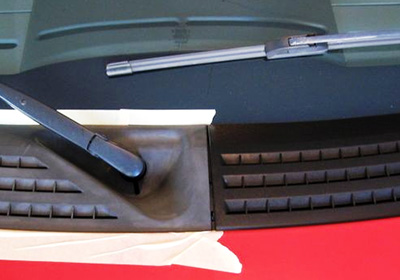
For a range of Trim Restoration applications, see the gallery below
Fender Flares

Mirror Shells
Wheel Flares
Grills

Wiper Housing
Bumpers

Mouldings
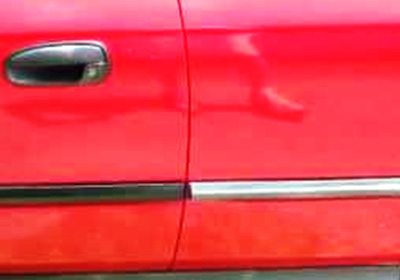
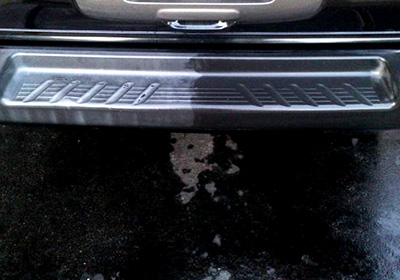
Running Boards
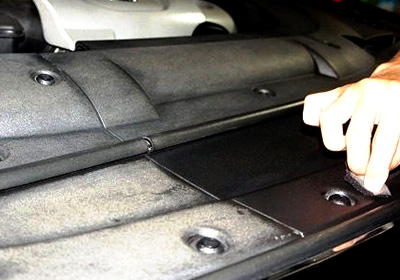
Engine Compartment
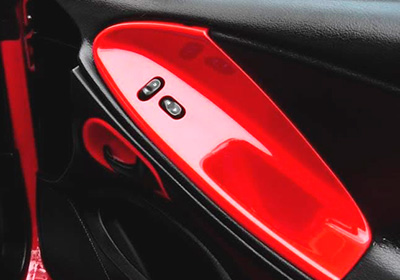
Custom Interior
Click Below for Step-by-Step Instructions – Trim & Plastic Refinishing
Black Plastic Restorer Liquid
Step 1 – Wash the Repair Area
- Wash the vehicle – especially the trim area to be restored – before applying Ultimate Black Plastic Restorer.
Step 2 – Identify Faded Trim
- Identify the faded trim that will be restored. If it is not to badly faded, the black color can be restored with Ultimate Black Plastic Restorer.
- If the trim is too badly faded, you may opt to use the Brush on Trim Coating Gel or Spray on Trim Paint.
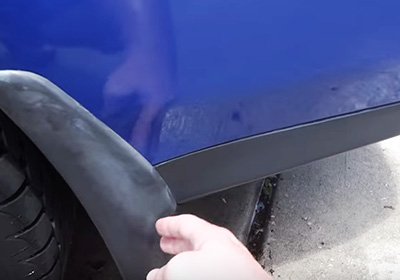
Step 3 – Apply Ultimate Black Plastic Restorer
- Use a clean Micro Fiber Towel to apply a dab of Ultimate Black Plastic Restorer liquid to faded plastic trim.
- Try to avoid getting the Ultimate Black Plastic Restorer on the vehicle painted surfaces. If you do get some on the paint, quickly wipe it off.
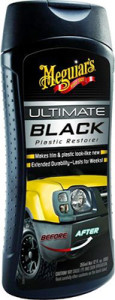

Step 4 – Wash the Repair Area
- Spread the Ultimate Black Plastic Restorer liquid evenly with a Micro Fiber Towel over the surface of the trim.
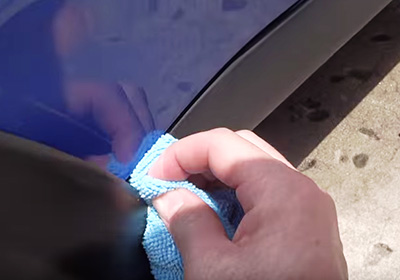
Step 5 – Examine Work
- As is pictured right, the trim treated with Ultimate Black Plastic Restorer now has a deeper, richer black.
- In this case, the Ultimate Black Plastic Restorer worked well and it is not necessary to use either the Trim Coating or Trim Paint.
- Finish applying the rest of the faded plastic trim with the Ultimate Black Plastic Restorer.
Before
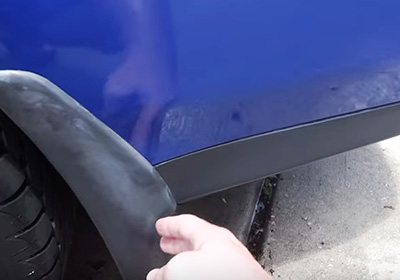
After

Black Trim Gel Coating: Brush on Application
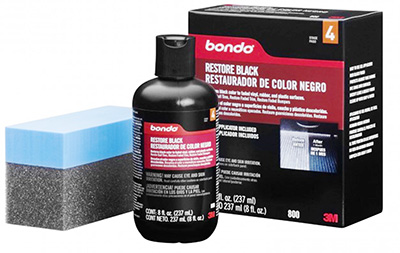
The Restore Black from 3M Bondo is an easy to use, easy to apply blach gel coating that will restore faded black plastic trim. You simply saturate the included Foam Applicator with Restore Black gel coating and then apply to the faded trim. No sanding, no spraying and no overspray.
Included in the Restore Black kit are:
- One 8 ounce bottle of Restore Black gel coating.
- One Foam Applicator.
This should be enough material to restore faded black trim on one full size vehicle.
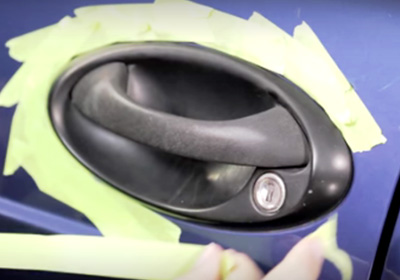
Step 1 – Mask and Clean the Repair Area
- Spray or Wipe the entire trim area with Wax and Grease Remover and wipe dry with a clean Disposable Wipe. This eliminates any built-up wax, grease, silicone, road tar, etc., that could cause problems with the coating. .
- Once completely dry, use Tape and Masking Paper (if needed) to mask off the area to be coated.
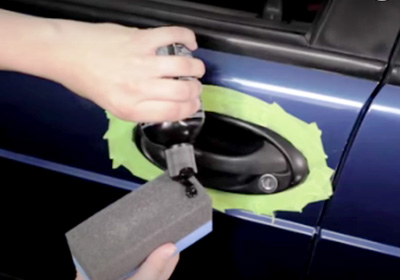
Step 2 – Coat Foam Applicator with Restore Black
- Saturate the Foam Applicator with Restore Black gel coating and get ready to apply to the trim surface.
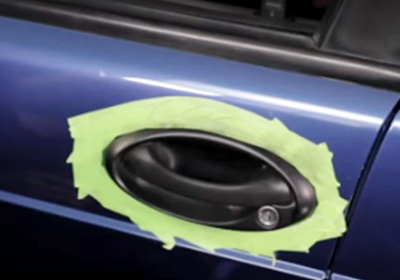
Step 3 – Apply the Black Restore Gel Coating
- With the Foam Applicator saturated with Restore Black, rub the gel coating evenly onto the entire trim surface area.

Step 4 – Allow Restore Black to Dry
- Once application of Restore Black is complete, allow gel coating to dry for about 10 minutes before handling.
Black Trim Paint: Spray on Application
Step 1 – Mask the Repair Area
- Use Tape and Masking Paper to mask off the area to be painted.
- Make sure the surrounding area is masked as well to avoid overspray from Trim Paint landing on the surrounding area.

Step 2 – Clean the Repair Area and Lightly Sand
- For metal surfaces (Steel, Aluminum, Stainless Steel and Chrome): Spray or Wipe the entire area with Wax and Grease Remover and wipe dry with a clean Disposable Wipe. This eliminates any built-up wax, grease, silicone, road tar, etc., that could cause problems with the Trim Paint.
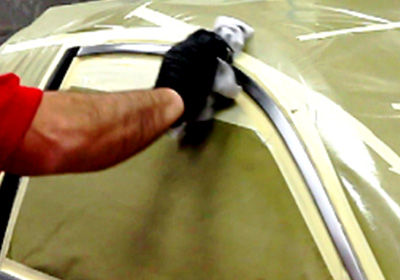
- For plastic surfaces (hard plastic and flexible plastic): Clean first with SEM Soap and a Gray Scuff Pad. Rinse area with clean water and wipe dry with a clean Disposable Wipe. Wipe the area a final time with Wax and Grease Remover and wipe dry with a clean Disposable Wipe.
Lightly sand the trim surface with 400 Grit Production Sandpaper
Step 3 – Apply Adhesion Promoter to Plastic Surfaces
• For plastic surfaces (Hard/Rigid Plastic or Flexible Plastic) you will have to apply an adhesion promoter after cleaning.
• Use a Tack Cloth to remove any dust or debris from the trim surface before applying adhesion promoter.
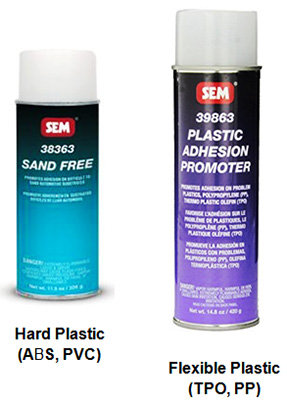
• For Hard / Rigid Plastic (ABS, PVC) use Sand Free Adhesion Promoter.
• Spray one medium coat of Sand Free Adhesion Promoter over the plastic surface.
• Apply the Trim Black Paint while the Sand Free Adhesion Promoter is still wet.
• For Flexible Plastic (TPO, PP, EPDM) use Plastic Adhesion Promoter.
• Spray one medium coat of Plastic Adhesion Promoter over the plastic surface.
• Let Plastic Adhesion Promoter dry completely before applying Trim Black Paint.
Step 4 – Choose your Gloss Level and Spray Method
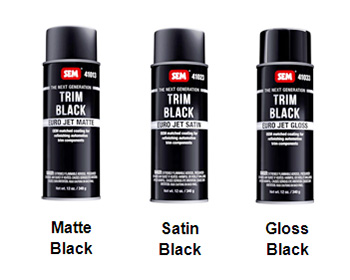
- Trim Paint comes in three levels of Gloss – Matte Black, Satin Black, and Gloss Black. In most cases, Satin Black matches the OEM Gloss Level the closest.
- The three gloss levels of Trim Paint mentioned above (and pictured right) come conveniently packed in an aerosol can and are simple to spray.
- Larger quart and gallon containers are available for Trim Paint. These can be sprayed with a Spray Gun (air compressor needed), Spra Tool, or Preval Sprayer.
Helpful Tip: Trim Paint is also available in Charcoal Metallic with a satin finish.
Step 5 – Spray on the Trim Paint
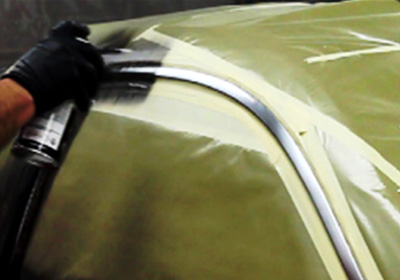
- Apply one medium wet coat of Trim Paint.
- Allow Trim Paint to flash off about 3 to 5 minutes.
- Apply a second medium wet coat of Trim Paint.
- You should be covered after two coats, but you have the option of putting on a 3rd
- Let final coat of Trim Paint dry about 30 to 45 minutes before handling.
Please be Advised
The recommendations and process steps listed in the projects below are general do-it-yourself recommendations that are designed to produce a successful project. Due to the many variables involved with each project and process steps, Touch Up Zone cannot guarantee results and does not accept liability for incorrect product application or use.
Before you Start
- Always wear proper safety protection: Safety Glasses, Respirator, Particle Mask, Latex or Nitrile Gloves and Hearing Protection (if you are using power tools that emit high noise levels).
- Utilize a well ventilated area when spraying coatings or sanding.
- Make sure the temperature is warm enough to allow coatings and materials to dry properly.
- Work in a well lighted area where you can clearly see what you are doing.
- Always follow label instructions on products.
Tools, Equipment, Paint and Material Options
The Tools, Equipment, Paint and Materials recommended for the each project are listed in the repair procedure and are highlighted in Red. You can purchase the Tools, Equipment, Paint and Materials for these products by clicking on the button below. For product definitions and general tech tips click here.


